


If you live in one of the area’s older homes, you already know the charm comes with quirks. Wavy plaster, original trim, maybe even squeaky floors that tell their own story. When it’s time to install new waterproof flooring or laminate, those quirks show up in the subfloor—and how you handle that layer will determine whether your new floor feels solid or starts giving you problems within a year or two.
Below is a practical walkthrough of what we look for and how you can get your home ready before installation day.
Step 1: Understand What’s Under Your Feet
In many mid‑century and earlier homes, subfloors are either tongue‑and‑groove planks over joists or old plywood that has seen decades of seasonal movement. Both can work well with modern materials, including waterproof flooring for Ohio homes, but only if the base is sound.
Start by lifting a floor vent cover or peeking in an unfinished closet to see what you’re working with. You’re looking for three basics: wood that’s intact, fasteners that still hold tight, and no signs of long‑term moisture. Any dark staining, crumbling sections, or musty odor needs attention before you think about new planks or tiles.
Step 2: Fix Squeaks, Soft Spots, and Movement
Older subfloors often flex between joists, which you feel as bounce or hear as squeaks. That movement can stress locking systems on click‑together products, especially rigid core waterproof planks and laminate.
Walk the room slowly and mark any noisy or spongy areas with painter’s tape. Squeaks usually mean the subfloor has loosened from the joists; those spots are often corrected with additional screws driven into the framing. Soft areas can indicate damage, and sections may need to be cut out and replaced. Taking time now to eliminate movement gives your new floor a firm, quiet feel and helps it stay locked together.
If you’re considering a floating installation—common for both laminate flooring options and luxury vinyl—stability underfoot is just as important as appearance on top.
Step 3: Check for Moisture Before Choosing Waterproof Flooring
Basements and first floors over unconditioned spaces are especially vulnerable to moisture in our four‑season climate. Even if you plan to install a fully waterproof product, chronic dampness in the subfloor can lead to mold, odors, and damage to surrounding materials.
Use a simple moisture meter on several spots across the room, including exterior wall areas. Readings that stay high suggest you may need better drainage, a vapor barrier, or dehumidification before installation. Once moisture is controlled, you can confidently choose basement‑ready flooring that stands up to humid summers and wet winters without cupping or swelling.
Step 4: Flatten, Patch, and Smooth the Surface
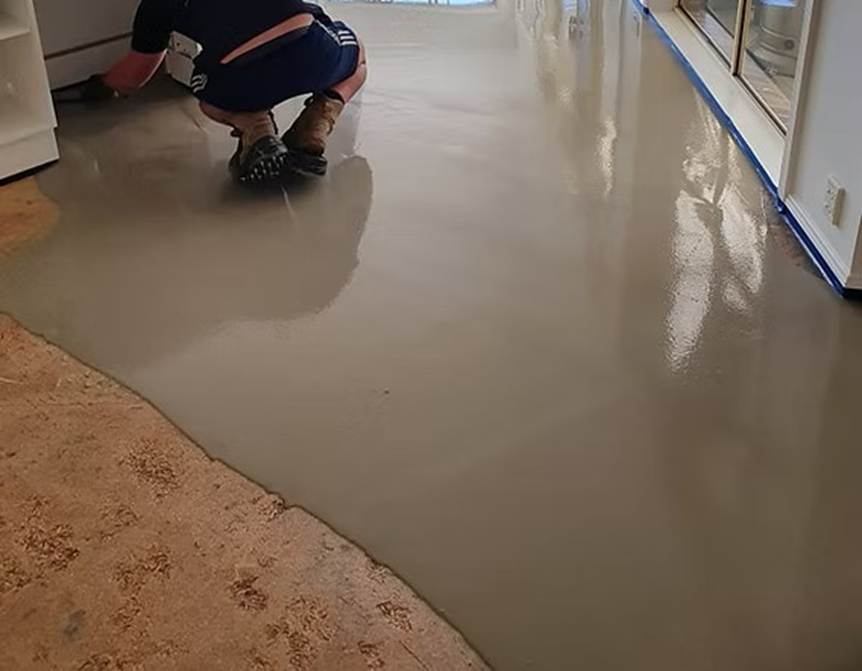
Even when wood is dry and solid, older homes rarely have perfectly flat subfloors. Modern waterproof planks and laminate need a level surface within the manufacturer’s tolerance, or you’ll see gaps, clicking, or premature wear at the joints.
First, remove old staples, stray nails, and adhesive residue. Then, use a long straightedge or level to find high and low spots. High areas may be sanded down; low sections are usually filled with a compatible floor‑patch compound. On concrete, hairline cracks can be patched, while larger issues may require professional repair before covering them with luxury vinyl planks or tiles.
The goal is not perfection, but a smooth, continuous surface so the new floor can lock together tightly and distribute weight evenly.
Step 5: Decide What You Can DIY—and When to Call in Help
Some homeowners are comfortable tightening a few screws and scraping old adhesive. Others would rather have an experienced eye look at structural issues, hidden moisture, or tricky transitions between rooms. Subfloor work is the point where a small oversight can turn into a big headache later.
If you’re unsure about what you’re seeing—or you want a professional opinion on whether your existing base is ready for new waterproof or laminate planks—we’re happy to walk you through it. You can get expert guidance on your project, and we’ll help you choose materials and an installation plan that respect your home’s age while giving you a floor that feels brand new.


